This fall, I’ve been gathering, storing, and roasting our native bay laurel nuts. For Christmas, I decided to invent a recipe for bay nut brittle.
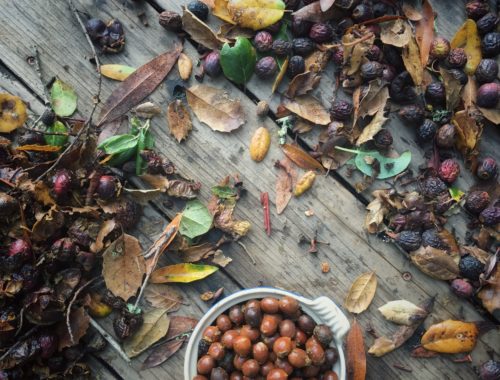

This fall, I’ve been gathering, storing, and roasting our native bay laurel nuts. For Christmas, I decided to invent a recipe for bay nut brittle.
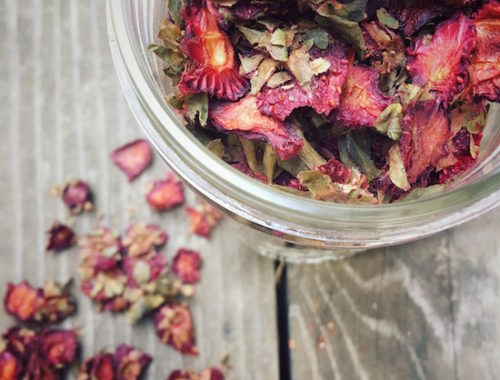
Enjoy the high-summer ritual of freezing the best strawberries to use all winter long. You may also want to try drying the hulls to make strawberry tea.
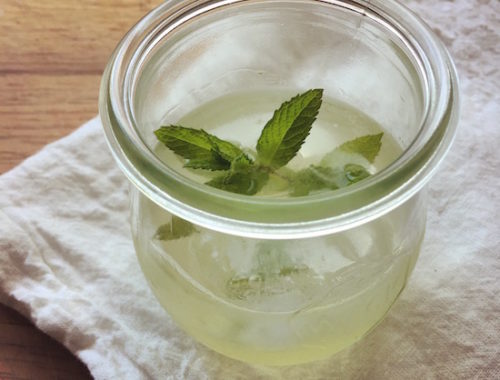
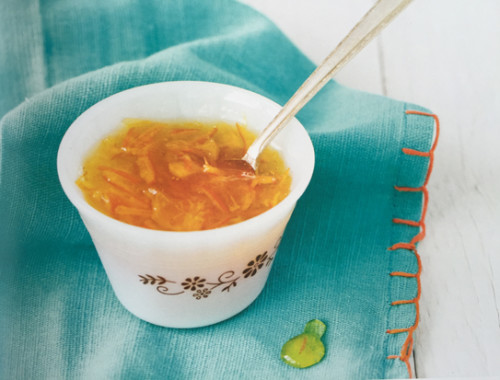
What to do after putting up a tree’s worth of Meyer lemon marmalade? Add some good gin, a splash of triple sec, a hint of mint.
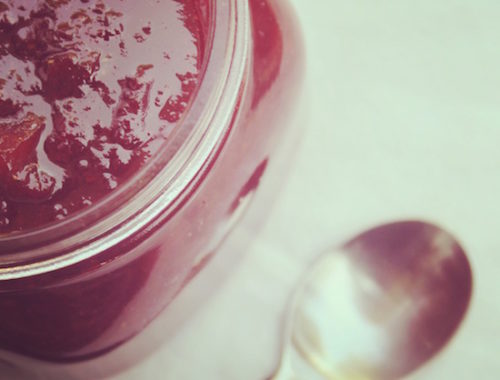
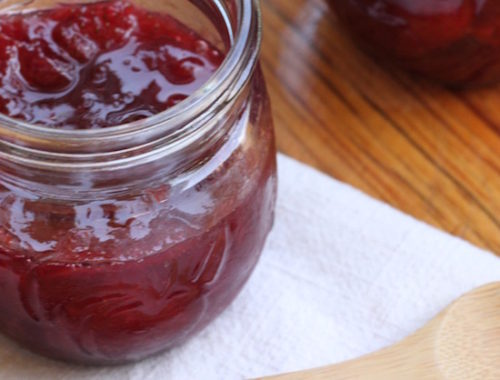
A strawberry rhubarb jam that’s full of spring flavor with just a few ingredients and no need to can anything. Just make it and eat it up.

The silence spoke loudly of silence, and the rivers kept speaking, of rivers, of boulders and air.
(Jane Hirshfield, “On The Fifth Day”)
I felt ready for flavors other than citrus and there were no fruit jams in the pantry. This is one of the times I’m happiest to have a storage freezer.
In these moments of too much citrus fruit and too little time, the easiest, most satisfying thing I’ve learned to make is mixed, whole-fruit jam.
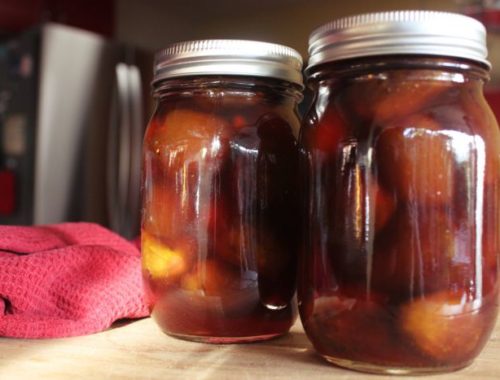
It was an onslaught of Black Mission figs that got me started canning; these pickled figs were the first thing I ever made.
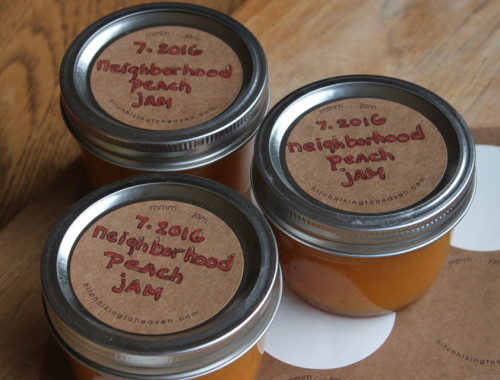
This low-sugar peach jam — pure peach using Pomona’s Pectin — lets you keep both the sweet stuff and the cooking time low.

Here are some ideas for what to do with blackberries if you, too, are the recipient of what promises to be this summer’s great bounty.

It’s one of those things that happens sometimes. You want something. You try for it and try for it, and you fail. You give up. (Or perhaps some less defeated word. You surrender. Let it go.) Then when you’re not looking, it moves into your house.
Autumn Giles has generously allowed me to share her Rangpur Lime Marmalade recipe. Do make it as she wrote it, including the note about using large limes.