Preserves

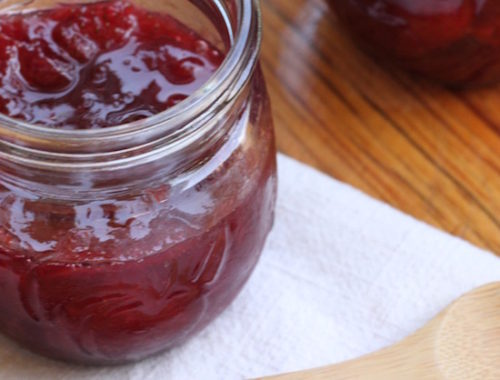
Strawberry Lavender Jam

The day after I met Julia, we joined Kate and Tigress for a Can Jammers’ picnic at Thompson-Finch Farm in Ancramdale, New York. We were quite a strawberry-picking crew: me from California, Julia on her home turf, Kate up from Brooklyn, Tigress from the Berkshires.

It was a hot, humid morning, and we were all different shades of pink by the end of it. But between me and Julia, who did an admirable job of juggling a toddler along with her hat full of strawberries (I’d dare any circus performer to pull that off), we managed to pick fifteen pounds for her to take home. I picked for Julia — because what would I do with a flat of strawberries and no kitchen? — and she promised to send me some of whatever delicious thing she makes with them.

Here is lovely Kate with her haul of organic Jewel strawberries, which she gamely transported back to Brooklyn via train and subway.

After picking, we settled down like birds in the shade for a true feast, with homemade goodies we’d each brought along — from Tigress’s yummy hummus (isn’t it fun to say “yummy hummus”?) and Ayran (a Turkish salted yogurt drink), to Julia’s pickled beets and hard-boiled eggs from her chickens, to a buckwheat version of Kate’s astonishingly good Gluten-Free Bread That Doesn’t Suck, pictured below with soft cheese and three of my jams. (Strawberry Rhubarb Orange, Strawberry Balsamic Black Pepper, and Blenheim Apricot.)

Because I didn’t take away any strawberries from our picking fest, and because it’s still “erry” week for the Can Jam, I’m going to share one of my new strawberry jam recipes here. I made this before I left home for our trip to New York . . .

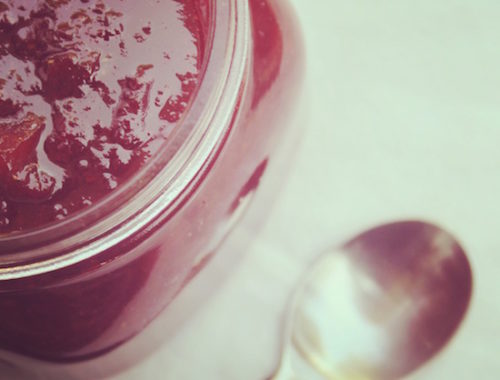
Strawberry Lavender Jam

This wonderful technique for preparing strawberries is the same as that used in the Strawberry Balsamic Black Pepper recipe mentioned above. I’ll always be grateful for learning this method, because it gives consistent, delicious results and lends itself to improvisation with all sorts of ingredients. Before you begin, be aware that this is a two-day process. You’ll prepare the strawberries and leave them in the fridge overnight, then make your jam on the second day.

For this strawberry-lavender combination, I was inspired by Canning with Kids’ version for the May Can Jam.

Here’s what you need:

2 1/2 pounds strawberries, hulled
1 pound sugar (about 2 1/4 cups)
24 Provence lavender stems
2 tablespoons lemon juice (or 4 tablespoons if you use less acidic Meyer lemons, like I do)

Day One

1. Hull the strawberries, then decide how big you want them to be. You can leave them whole if they’re small, cut them in half if they’re giants, or rough cut them if you’re feeling that way.

2. Put the strawberries in a large glass or ceramic bowl. Layer half of the lavender stems into the strawberries and add the sugar and lemon juice. Cover the bowl with parchment paper or a clean cloth and place it in the fridge overnight.

Day Two

1. Sterilize your jars and put 5 teaspoons on a plate in the freezer to test your jam for doneness later.

2. Pull the lavender stems out of the berry bowl and put the rest of the contents into your jam pot. Bring the mixture to a boil.

3. Use a strainer to remove the strawberries to a separate bowl and continue to boil just the liquid until it thickens. I take mine up to about 218F on my candy thermometer, but you can use your judgment here, too. As the liquid boils, use a shallow, stainless-steel spoon to skim any stiff, pale foam off the top.

4. After the liquid thickens, return the strawberries to the pot and add the other half of the lavender stems. (Are you wondering why you went to the trouble of removing the berries and adding them back again? You don’t have to do that, but if you take the extra step, your berries will retain both integrity and flavor.) Boil to the setting point, continuing to skim the stiff foam as you go. (Skimming is also worth the trouble. You’ll end up with a much cleaner, brighter jam.) This final cooking phase takes about 10 minutes for me.

To test your jam for doneness: Remove the mixture from the heat. Use one of your frozen spoons to scoop up a little bit of jam — not a whole spoonful. Return the spoon to the freezer and wait 3 minutes. Retrieve the spoon and hold it vertically. If the mixture runs very slowly or not at all, it’s done. Alternately, give the mixture a little push with your finger. If you see creases or wrinkles, it’s done.

5. Remove the lavender stems from the pot.

6. Ladle the hot jam into your sterilized jars and process in a hot water bath, using the correct amount of time for fruit jam at your elevation. For me, that’s 5 minutes. Yields 4 half-pint jars.

Previous Post Next Post

You Might Also Like