If I’ve learned one thing in the few years I’ve been canning, it’s that what you make is only as good as the ingredients you start with. I believe you should taste everything you put in the jar. Everything. If you don’t want it in your mouth, it doesn’t belong in your preserves.
You definitely want these peaches in your mouth — if you like peaches, that is. I’m wildly lucky to have a generous neighbor with heirloom peaches — both yellow and white — from trees planted by her father many decades ago. Here they are after blanching, floating in their ice-water bath for a moment before peeling . . .
Of course Joanne has more than perfect peaches. She has curious hens, who sometimes give me eggs . . .
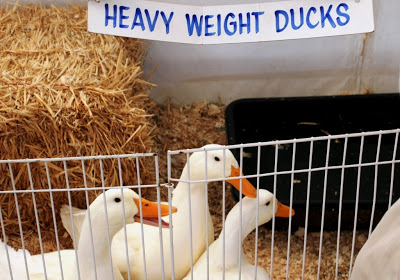
And she has a gaggle of geese, including Louis, who is one of my very best friends . . .
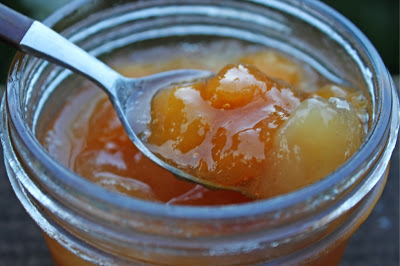
But this is a post about peaches. A luscious two-peach jam, to be precise. If you can put your hands on 1 1/2 pounds each of fine yellow and white peaches, you might want to give this one a try. I used Christine Ferber’s method from Mes Confitures, but I cut the sugar quite a bit, as I am wont to do. The result is a chunky, jammy preserve that lets the fruit shine through.
I took this photo tonight as the very last light was slipping away, but I think it’ll give you the right idea . . .
Before you begin, note that this is a two-stage process. You’ll need to prep your fruit and then let it macerate in the fridge for about 6-8 hours before you finish your jam.
Yellow and White Peach Jam
1 1/2 pounds ripe yellow peaches (weight before peeling)
1 1/2 pounds ripe white peaches (weight before peeling)
2 1/2 cups sugar
2 tablespoons lemon juice
1. Sterilize your jars and put 5 teaspoons on a plate in the freezer, to test your jam for doneness later.
2. Blanch the peaches by immersing them in a pot of boiling water for two minutes, then quickly transferring them to a bowl of ice water.
3. Peel the peaches and roughly chop them into thick chunks.
4. In your jam pot, combine the peaches, sugar, and lemon juice. Bring to a simmer, then transfer the mixture into a glass or ceramic bowl. Cover and let sit in the fridge overnight. (Actually, I prepped mine in the morning and let them sit for about six hours, then made my jam in the afternoon. No big deal.)
5. The next day (or later that day, whatever) . . . pour the mixture through a sieve into your jam pot so what you end up with is a pot full of sweet peachy syrup. Set aside the peaches and bring the syrup to a boil. Cook the syrup until it thickens, about 5 minutes.
6. Add the peaches to the syrup and return the mixture to a boil, cooking on high heat until your jam reaches the setting point (see below for the test I use). As the jam cooks, use a shallow, stainless-steel spoon to periodically skim any stiff white foam from the top of the mixture. It took about 15 minutes for this jam to cook for me, but keep in mind that lots of factors affect cooking time. Watch your mixture and test it carefully.
To test your jam for doneness: Remove the pan from the heat. Use one of your frozen spoons to scoop up a little bit of jam — not a whole spoonful. Return the spoon to the freezer and wait 3 minutes. Retrieve the spoon and hold it vertically. If the mixture runs very slowly or not at all, it’s done. (“Not at all” may be overdone, in fact.) Give the mixture a little push with your finger. If it clearly creases or wrinkles up, it’s done.
7. Ladle the hot jam into your sterilized jars and seal. Process 10 minutes in a water bath canner.
Yields about 4 half-pint jars.
Ah, peaches! Enjoy.


