I’m excited to share this new cookbook with you. Even if I weren’t personally connected with it, I’d say Hollyhock Garden to Table would be a fine addition to your kitchen resources. What’s fun for me is that I am connected with it, in three small ways:
First, it is written and photographed by two beautiful, creative women whom I know and respect tremendously — Moreka Jolar and Heidi Scheifley. (I wrote about Mo here once before, because she inspires me no end and we happen to share the same birthday.) They regularly write about food and their farm at Ripple Rock Cooks.
Second, this cookbook centers around produce from the organic gardens at the Hollyhock Learning Centre on Cortes Island in British Columbia. I have been there and I have eaten food from Hollyhock’s kitchen, so I can affirm that the adjectives on the back of the book are true. Cortes is stunning. The gardens at Hollyhock are spectacular. The food is imaginative, inspiring, and versatile.
Third, you’ll find two of my recipes in this book: nasturtium pesto and pickled nasturtium pods. (Both are updated versions of the recipes on this blog.) Thank you, Mo and Heidi, for including my work!
Hollyhock Garden to Table is packed with interesting recipes to try. Chapters include everything from salads to mains, from breads to breakfasts — and of course, desserts. I may be most intrigued by their “accompaniments,” which include strawberry salsa, stinging nettle pesto, fig and port compote, and more. I pride myself on never having used the word “yummy” on this blog, but I’m having to restrain myself from employing it now. This cookbook makes me happy because the recipes seem equal parts delicious and enjoyable to prepare.
For inspiration in this moment of full-on-spring, there’s plenty of rhubarb:
- Rhubarb Vinaigrette
- Rhubarb Syrup with Hibiscus or Lemongrass
- Apple Rhubarb Pandowdy
- Gluten Free Rhubarb Streusel Muffins
- Rhubarb Shortcake
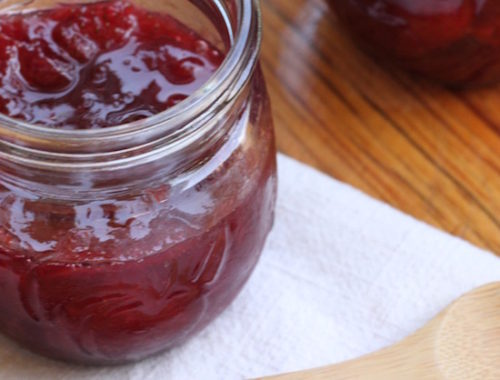
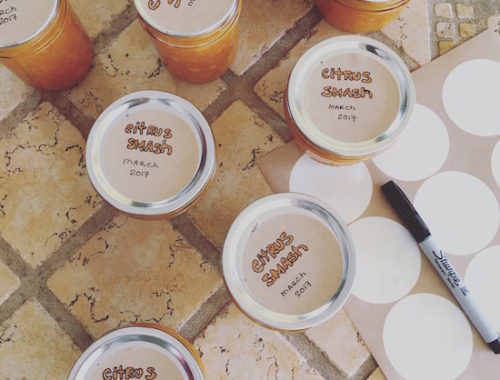
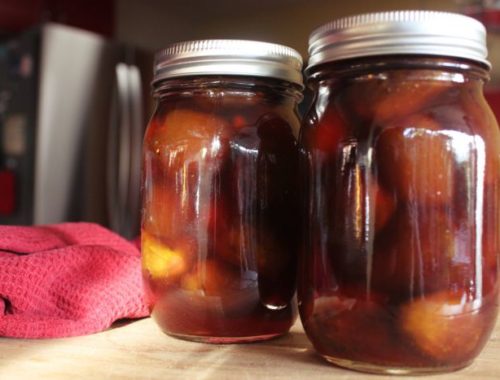
And lots of food in jars . . .
And while Hollyhock Garden to Table includes an abundance of recipes featuring good, whole grains, I was excited to find many things I can enjoy on my current grain-free, sugar-free, lactose-free — insert audible sigh here — plan. I decided to start with banana jam, and that’s the recipe I get to share with you below.
Also, Mo and Heidi generously provided me with a copy of Hollyhock Garden to Table to give away to you. For a chance to win, please leave a comment on this post, including one thing you’re really enjoying about this spring so far. I know there have been a lot of tragedies of late. I love to look outside to see that the pink jasmine has burst into bloom as usual. Carl the crow is also doing great. A couple times, he has even brought another crow to share his breakfast.
The giveaway closes on Friday, 5/3 at 8 p.m. PST and I’ll announce the winner soon after. (Sorry, but I have to restrict the contest to residents of the U.S. or Canada.) If you don’t want to wait for the giveaway results, you can click right over and buy a copy of this lovely book direct from the authors.
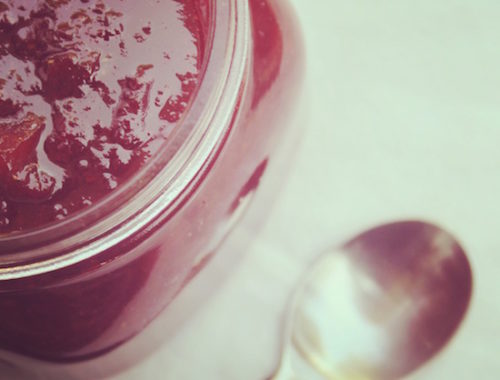
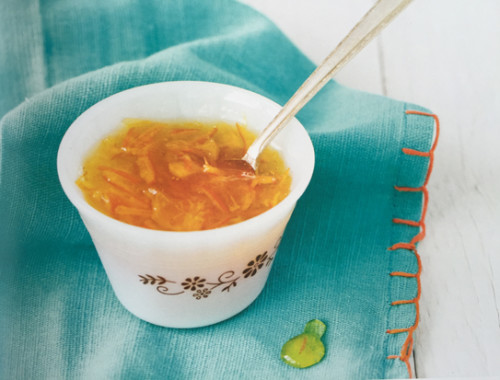
Banana Jam
from Hollyhock Garden to Table, by Moreka Jolar and Heidi Scheifley
Sugar-free and begging to be sandwiched up with some nut butter, this banana jam has some serious citrus and vanilla punch, with just a pinch of clove and cardamom. Easy as 1-2-3.
Makes 1 cup
3 medium bananas
1 orange, juiced
1 lime, zested and juiced
1/4 teaspoon vanilla powder or 1 teaspoon vanilla extract
pinch of cloves
pinch of cardamom
In a heavy-bottomed skillet, mash the bananas with the remaining ingredients. Cook on medium heat, stirring frequently, for 15 minutes. The jam should get thick and creamy. Allow to cool. Store in a sealed container in the fridge for up to 2 weeks. (Bananas are a low-acid food and this recipe has not been tested for acidity, so please assume that it is NOT safe for canning.)
Notes: The bananas I used weren’t quite ripe enough. This recipe will work best with sweeter, brown-speckled bananas. Because the bananas were so firm, I gave them a quick whirl in the food processor before cooking the jam. For this tiny batch project, I used my heavy-bottomed 8″ stainless-steel skillet, which worked great. The jam reached the desired thickness after just 8 minutes, perhaps because of its little spin in the food processor. Watch the mixture well and stir it pretty much constantly to keep it the jam from sticking or scorching. I think you’ll be pleased with the results. I was!