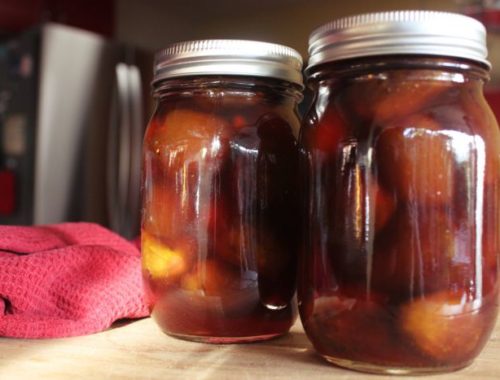
I felt ready for flavors other than citrus and there were no fruit jams in the pantry. This is one of the times I’m happiest to have a storage freezer. Taking stock, I found two kinds of plums, wild blackberries, strawberries, rhubarb, and some Black Mission figs frozen in a sugar syrup. I think I’ve said this before, but gazing at fruit put away in the freezer is like looking at art supplies. What colors, what flavors — what shapes, even — call to me?
This time it was deep-toned, tart Santa Rosa plums, the last fruit picked from a friend’s tree before she moved away several years ago. (I noted on the freezer bag that I’d picked them a touch early, so I knew they’d be tart.) And strawberries, not the ones from the freezer but a pound of the first sweet berries to appear in the markets this spring. Strawberries are tricky this time of year. Even at the grocery store, I ask whether I can taste one before I bring them home. Some of the early berries taste like cardboard.
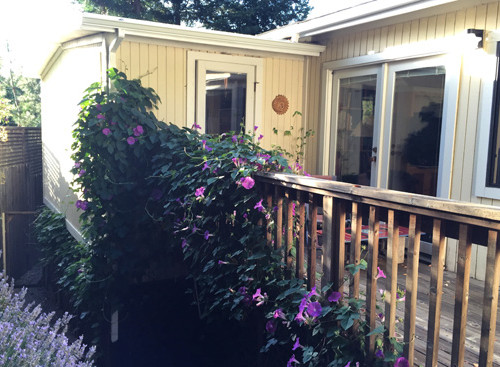
Before freezing the plums, I had roughly cut them into large chunks so I cut the fresh strawberries much the same. I had just returned home from a month of subzero temps in Fairbanks, Alaska and was craving warm colors, big pieces of flavorful fruit, lots of juice. It was a real fall-on-my-knees moment when I came home at the height of our Northern California spring, with everything green and budding or already bursting — pink jasmine, pineapple sage, freesia. I even felt passionate love for the big, dumb camellia bush I used to complain about.
Perhaps in celebration of the joy I feel to be in my own garden — and speaking of art materials — I am just learning to sketch. This started a couple weeks ago when I stumbled upon the books of the naturalist John Muir Laws in a local bookstore. Not only is his work gorgeous and smart, published by the inimitable Heydey Books in Berkeley, but he works and teaches right here where I live. I signed up for a workshop next week on drawing birds.
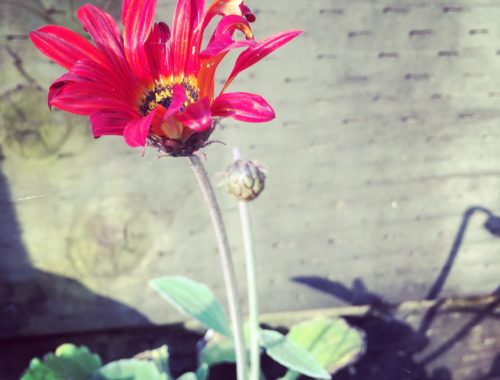
I’m magnetized to this sketching practice because of the way it holds my attention and changes it, too. For example, this is a bud of one of the tall, bearded Irises on our patio. (I’m guessing it may be the variety Rip City, but there are so many types that it’s hard to know for sure.) I’m sketching it every few days. Now, when I approach the plant, I can see exactly how it has changed. So it’s not really about whether the sketch is good or bad, but how it allows me to notice, how it affects my relationship with what’s around me. That said, I am looking forward to learning more and improving my skills.
Anyway. Back to the jam.
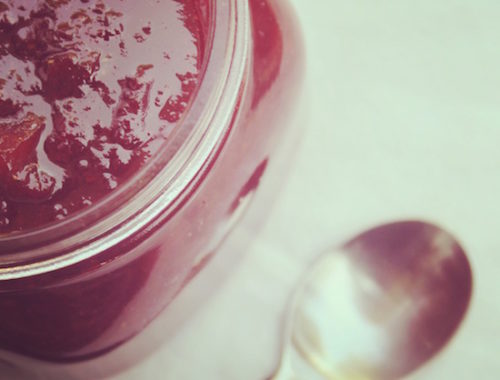
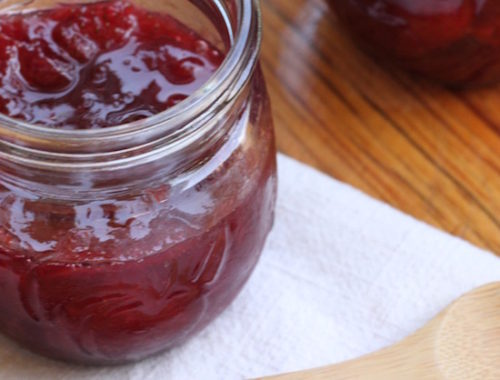
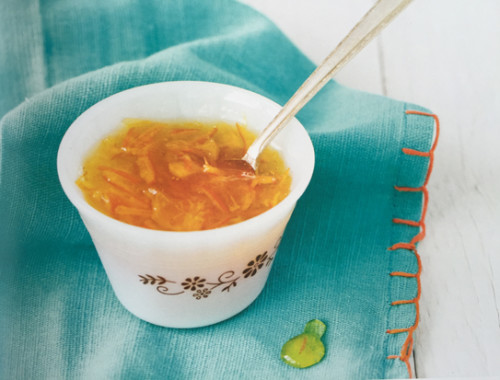
You can use frozen or fresh fruit in this recipe — frozen plums with fresh strawberries, frozen strawberries with fresh plums, or everything frozen, or everything fresh — no matter. You can see I let the jam set softly. Plums have so much pectin that they can be hard setters, but the low-pectin strawberries make them more forgiving. I guess the lesson is to use what you love and let the process be big and easy, and you’ll probably be happy with what you get in the end.
Plum Strawberry Jam
2 pounds Santa Rosa plums (or use another other sweet-tart variety of red plum)
1 pound sweet strawberries (weighed after washing and hulling)
1.5 pounds sugar
zest of one orange, minced (I added this because I had an orange from my tree with good zest but it was too dry inside for good juice; it’s optional, of course. If you don’t have an orange, you might add a touch of zest from the lemon. Or skip the zest if you don’t feel like it.)
juice of one Eureka lemon, freshly squeezed and strained
Combine all ingredients in a large glass or ceramic bowl and gently stir to mix. Cover the bowl tightly and allow to macerate (at room temperature or in the fridge) until any frozen fruit has thawed, or overnight if you’re using all fresh fruit. Sterilize your jars, and place 5 metal teaspoons on a plate in the freezer to test your jam for doneness later. Transfer the mixture to your jam pan, bring to a gentle boil, and cook to the setting point. (Plum jams need some tending as they cook so they don’t stick. Stir frequently toward the end of the cooking process and turn down the heat a bit if needed.) I’m sorry to say I didn’t make note of how long it took to cook this jam. I think it was about 30 minutes in my 11-quart copper pan; you might start looking for a set around 25 minutes, when the mixture has noticeably thickened and the bubbles are small and shiny, and see what you get. Your cooking time will vary, depending on your fruit, your stove, and your pan.
To test your jam for doneness: Remove the mixture from the heat. Use one of your frozen spoons to scoop up a little bit of jam — not a whole spoonful. Return the spoon to the freezer and wait 3 minutes. Retrieve the spoon and hold it vertically. If the mixture runs very slowly and it has substantially thickened, it’s done. Alternately, give the mixture a little push with your finger. If you see creases or wrinkles, it’s ready. If the jam is still runny, cook it for 2-3 minutes more (gently stirring all the while) then test again.
Ladle or pour the finished jam into the hot, clean jars, leaving 1/4-inch head space. Wipe rims clean, apply lids, and process 5 minutes in a water bath canner, adjusting the time for your altitude if necessary.
Makes about 6 half-pint jars.